Mistakes to Make on a Raytracer
Writing your first classical ray tracer was at one point a big deal. Now I don’t see what’s so difficult about the dark side of computer graphics. Tray racing, as I call it, is a remarkably entertaining exercise that will become the future of gaming and 3D visualization as computing hardware catch up with our ambitions*.
Simply put, ray tracing’s generating computer images through a physical simulation of light, by “shooting” rays from a viewpoint in 3D space and then “tracing” them along their paths for objects to draw on screen. Shoot a lot of them and you will have enough information for the screen.
This is far superior in quality and correctness, though also very much less efficient, than our current method of rasterization: gathering up all the objects we put into the virtual space, deciding what they should look like given a few arbitrary parameters, and then drawing them on the screen where we think they should go. Ray tracers produce such good-looking images, in fact, because they are accurate.
For an example, see Wikipedia’s exemplar specimen of ray traced work: 
If you need more convincing, check out a small company in California called Pixar. I believe they make these moving pictures or something.
“Now Xo,” you ask, “why did you call this wonderful ‘tray racing’ technique the ‘dark side’ of computer graphics? Surely it would be the ‘light side (no pun intended)?’”
No, it’s not. I learned rasterization first, I worked hard at some very pointless but very fast software rasterizers, and I just like it more. Shoot me (no pun intended).
Anyways, I wrote a simple “classical” (properly known as Whitted) ray tracer for CS3451† as an assignment. To my surprise, it took only eight hours of marathon coding to write, none of them daytime. The work consisted primarily of making and fixing simple mistakes that, once I had worked out the math, were physically incorrect.
That was the nice bit of it all; if you had a rendering error, you can just look at your model of the world and see if you did something in a way that makes no sense in the real world. Once I fixed those mistakes, I had a pretty nice ray tracer, if trivial by today’s standards.
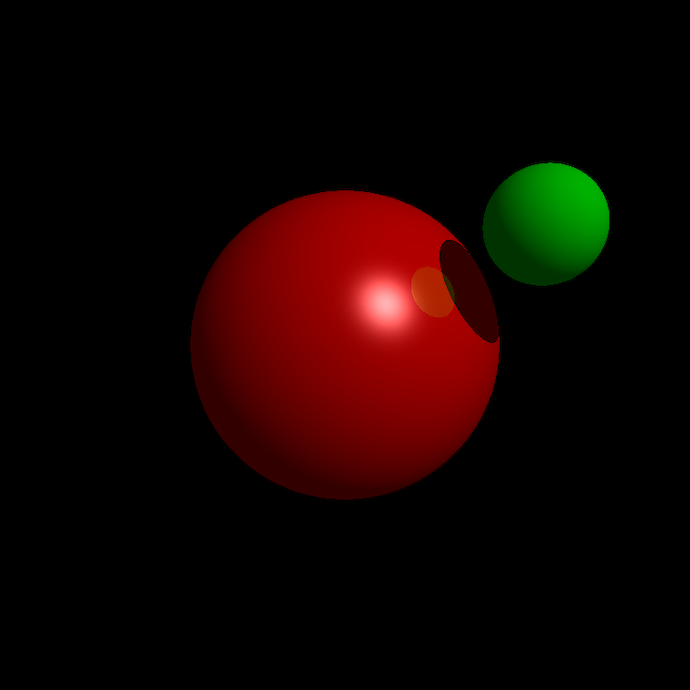
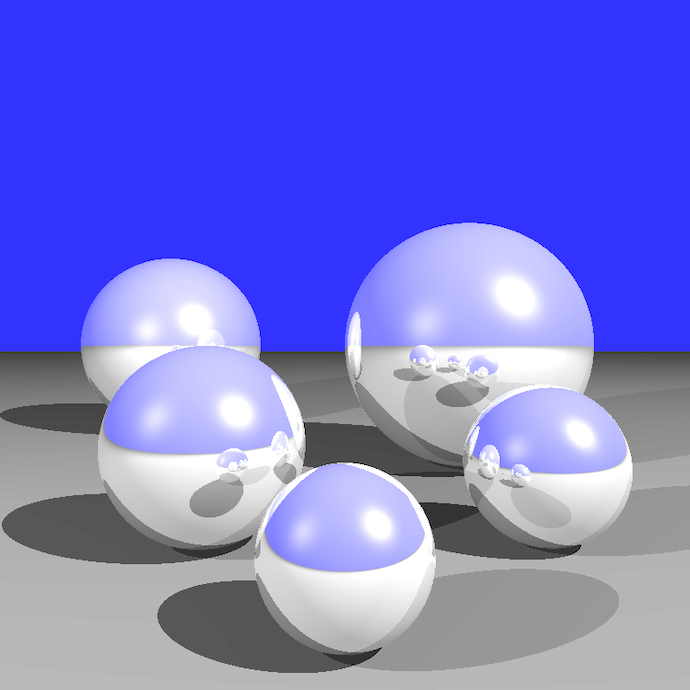
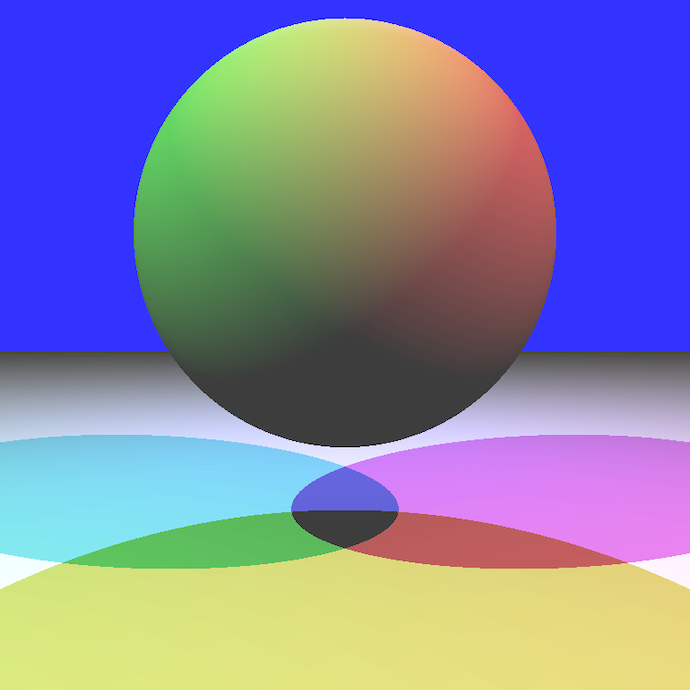
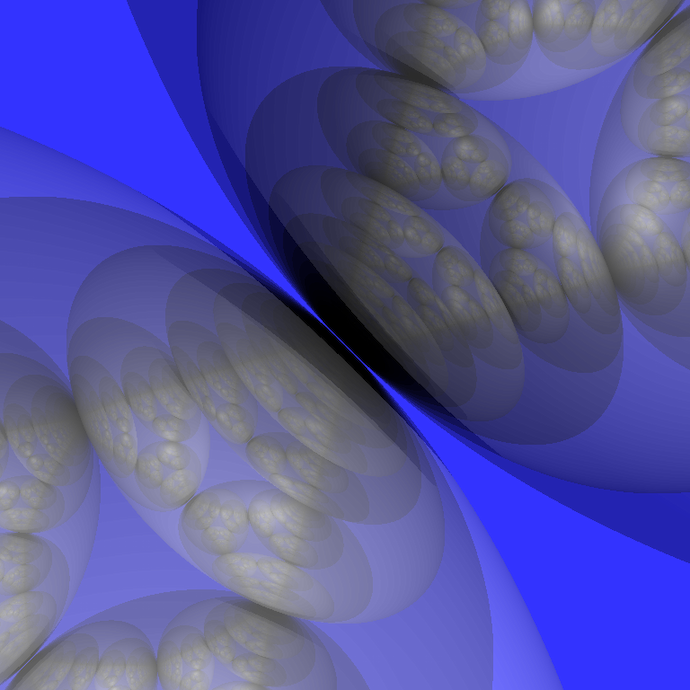
These are the technical issues I stumbled on (and have stumbled on before; I don’t learn too well from my mistakes‡), and ones you probably should watch out for:
Normalize your unit vectors! Rays have directions representing their straight line path through space. These are usually represented with unit vectors. If you don’t keep them normal, then the distances you get through ray-object intersections will be inaccurate. This will cause issues if you actually depend on distances at some point, like when you do shadowing or light attenuation.
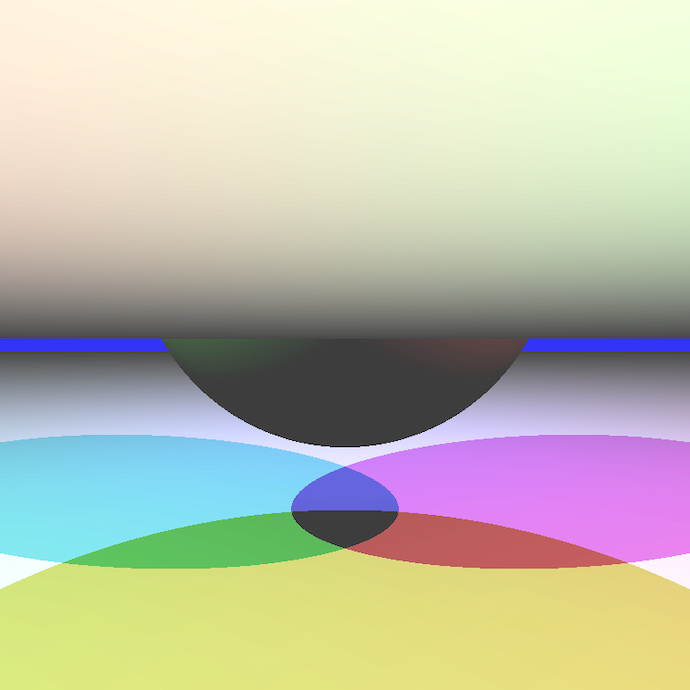
Check for negative intersections! When checking for ray-object intersections. Make sure you discard intersections that are behind the rays origin. Say that you parameterize your ray as o + td, where o is the ray’s origin, d is the direction (uuunit veeector!), and t is the scalar parameter indicating distance along the path given by o and d. If you get an intersection of t < 0, discard the intersection.
Don’t do this:
Terminate your reflection rays by contribution! When doing lots of bounces around shiny objects, that is, objects of constant of reflection Krefl > 0, make sure to stop doing more bounces when additional bounces will contribute no visible difference to the image. My measuring stick here is by recursive descent along reflection rays: with each bounce, I multiply the contribution factor (which starts out at 1) by the Krefl of the intersected object. If the contribution of the next recursive level is less than 0.5/255, which is half the value of least significance for an 8-bit/channel output buffer, then I consider further bounces to be useless and terminate further recursion. It’s just a performance thing.
Don’t let your reflection rays check against its own origin! When bouncing reflection rays, be sure to not check for intersections against the object you just bounced it off of. It’s a simple way to avoid a rendering artifact known as surface acne§. However, this technique will prevent objects from casting self shadows, which are exactly what they sound like. Therefore, omit the reflection intersection check for the biggest thing in an object that does not self-shadow, e.g. spheres, triangles, planar polygons, etc. So if you are reflecting off an object composed of many triangles, don’t intersect the reflection ray against the triangle it bounced off of, but do check against the other triangles in the object.
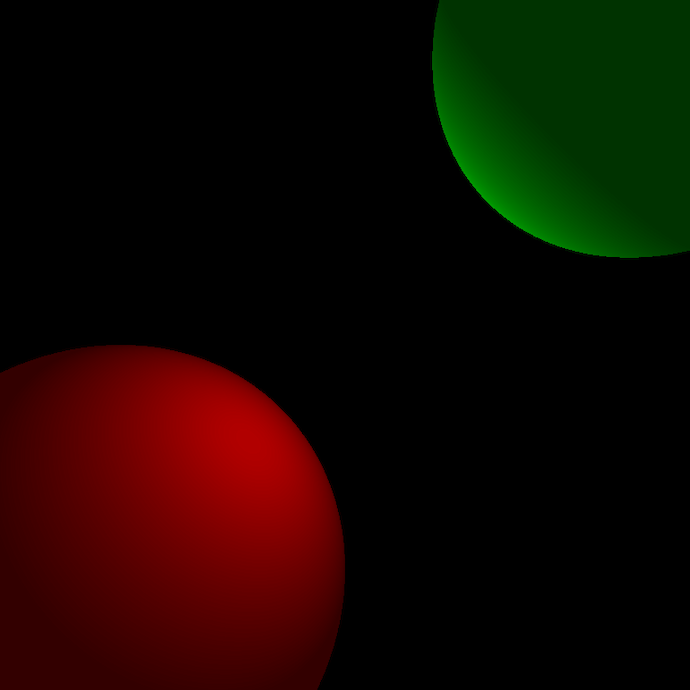
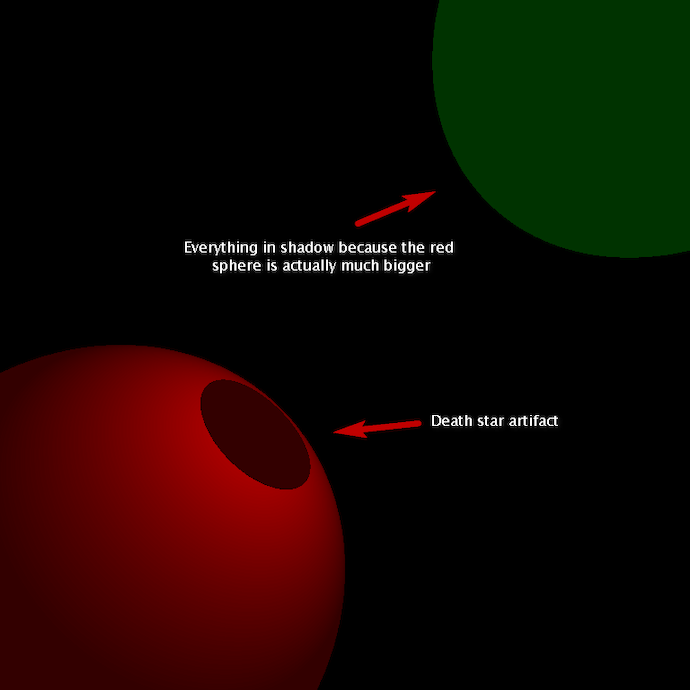
Intersect your shadow rays with geometry and lights! OK, this is hard to describe, but it’s important. You check for shadowing by shooting a shadow ray towards the light you’re trying to err, check for shadowing against, right? If there is an intersection with another object, then there’s something blocking the light, right? Non monsieur! What if the light is between the two objects? For a shadow to be cast, the distance to the intersection must be less than the distance to the light.
Example: There is a light smack dab in between two spheres. It should look like this:
Except when it doesn’t:
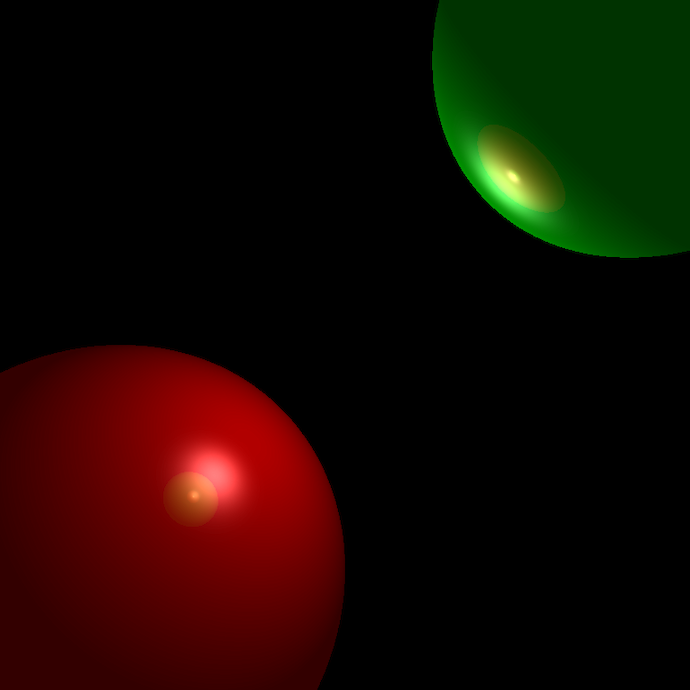
Just for the heck of it, let’s add more magic:
So there you have it. Hopefully the technical bits in this post will help some poor uni student out there struggling to race their first tray, the writing has entertained you, and at the very least the pretty pictures got you all excited.